Recommended Products
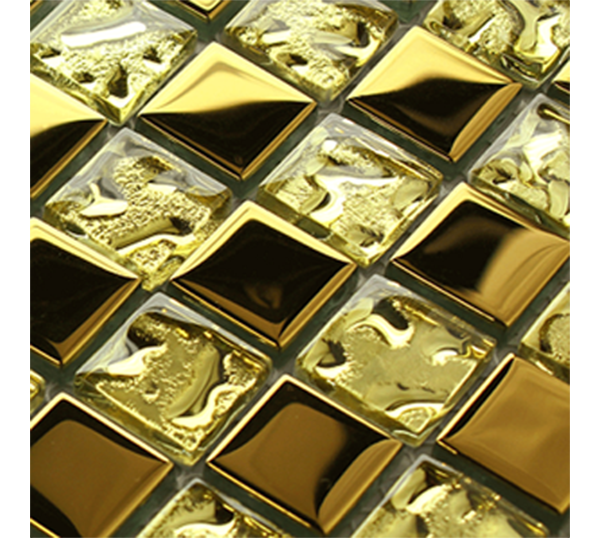
- glass mosaic NGL036
- Item:NGL036 Sheet size:300*300mm Chip size:23*23mm Thickness:4/6/8mm Material:glass MOQ:36 square meters
Top articles
- Analysis of the thickness and advantages and disadvantages of glass mosaic
- Do you know what is the mosaic tile?
- The Features of Mosaic Tile
- Electroplating mosaic with rich color and multi change patterns
- Crystal Glass Mosaic Features
- What are the characteristics of glazed metal mosaic?
- Application of glass mosaic in bathroom space
- Stone Mosaic could be decorated to which places?
- What kind of mosaic tile should be used for home ground decoration?
- Mosaic Tile Installation
Latest articles
- Make your swimming pool specially
- congratulate you with international woman day!
- Analysis of the thickness and advantages and disadvantages of glass mosaic
- glow in dark mosaic tile
- Do you know what is the mosaic tile?
- The Features of Mosaic Tile
- Provide with Fashion trend low cost cystal glass mossaic from CP Mosaic manufacturer
- New inkjet mosaic and glass tile
- Electroplating mosaic with rich color and multi change patterns
- Working instructions of mosaic
Your browsing history

Mosaic Tile Installation
Mosaic Tile Installation
Tools:
 3-16 V Notch Trowel.jpg)
 Measuring tape.jpg)
1) Rubber float 2) 3/16 V Notch Trowel 3) Measuring tape
 Utility knife.jpg)
 Level.jpg)
4) Spacers 5) Utility knife 6) Level
 Margin trowel or stir stick.jpg)
 Safety glasses.jpg)
7)Grinder or wet-cutting tile saw 8) Margin trowel or stir stick 9) Safety glasses
 Sponge.jpg)
 Cloth.png)
 Pencil.jpg)
10) Sponge 11) Cloth 12) Pencil
Materials: Adhesive, Non sanded grout ,Stone sealer
Installation :
1) Make sure the surface is leveled and clean prior to installation.
2) If applying mosaic tile on gypsum,it is important apply a coat of primer prior to beginning your mosaic wall tile installation.
3) Inspect each tile prior to the installation.
4) When installing tiles,mix and match tiles from different cartons for a natural look.
5) If you are installing mosaic wall tiles in a shower,it is necessary to install waterproof membrane.
6) Install any trim or profile strips before installing the mosaic wall tile.
1.Plan the placement of the tiles before beginning
2.The first I’ll should be placed at the center or near the center of the wall,keeping in mind that the last island each row should ideally be wider than half of a tile.In order t o make sure that the installation is leveled.Proceed as illustrated a plane even 1/8 inch or three millimeter layer of adhesive using a notch side of V notch trowel once the adhesive has been applied.
Use the flat side of the notch trowel to flatten the surface.Make sure the bottom have your service is completed before beginning the top section. Spacers can be used to maintain a set distance between mosaic tile sheets.
Using a rubber float gently pressed each tile onto the adhesive to ensure complete contact
To cut through the mash up the mosaic tile sheets use a utility knife along the back at the mosaic sheet.
Use a wet saw with a diamond blade to cut through the mosaic tiles.Always wear safety glasses when using a wet saw.
If using spacers,this should be removed once the adhesive is set prior to grow tink.
Keep your tools and your workplace clean as you install the tiles.
White tiles with a sponge to remove any residual adhesive apply a premium penetrating sealer prior to growing for mosaic wall tiles which are made of stone or blend of stone and other materials making sure to only apply sealer onto the stone.
Wait 24 hours before installing grout,mix non sanded tile grout,and apply using your rubber float Let the growth set for a few minutes following the growth manufacturer’s recommendations Afterwards,even out the growth by wiping the tile with a wet sponge in a circular motion.
Clean residual grout using a clean sponge within five to ten minutes and grow up application.We recommended removing excess grow by wiping it at an angle as illustrated.
After 12 hours,remove remaining Hayes using a dry towel or ....
For a better finish applying cocking between the mosaic wall tile and your counter top or other surface may be preferable.

