Recommended Products
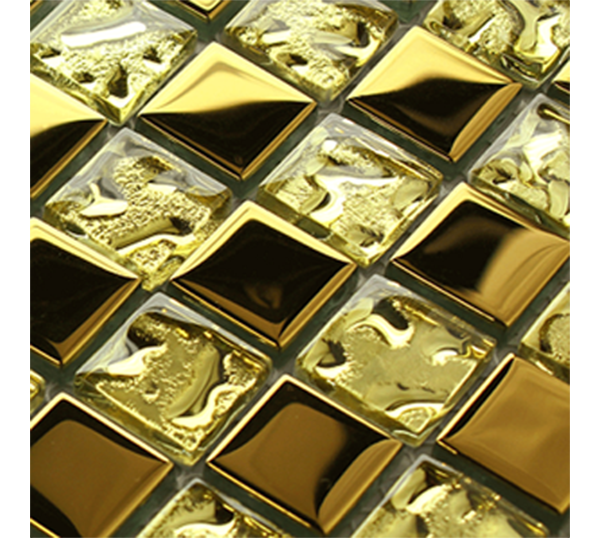
- glass mosaic NGL036
- Item:NGL036 Sheet size:300*300mm Chip size:23*23mm Thickness:4/6/8mm Material:glass MOQ:36 square meters
Top articles
- Analysis of the thickness and advantages and disadvantages of glass mosaic
- Do you know what is the mosaic tile?
- The Features of Mosaic Tile
- Electroplating mosaic with rich color and multi change patterns
- Crystal Glass Mosaic Features
- What are the characteristics of glazed metal mosaic?
- Application of glass mosaic in bathroom space
- Stone Mosaic could be decorated to which places?
- What kind of mosaic tile should be used for home ground decoration?
- Mosaic Tile Installation
Latest articles
- Make your swimming pool specially
- congratulate you with international woman day!
- Analysis of the thickness and advantages and disadvantages of glass mosaic
- glow in dark mosaic tile
- Do you know what is the mosaic tile?
- The Features of Mosaic Tile
- Provide with Fashion trend low cost cystal glass mossaic from CP Mosaic manufacturer
- New inkjet mosaic and glass tile
- Electroplating mosaic with rich color and multi change patterns
- Working instructions of mosaic
Your browsing history

Glue Method Directions
If you use the glue method for making your mosaic, your pattern is traced onto the base and glue is applied to each piece of tessarae which is then stuck to the appropriate section of the pattern.
.Make sure your base is free of dust and dirt.
.If you have a design, draw out your design onto your base. You can either draw it freehand or usingcarbon tracing paper. You can also just make up a design as you go.
.Carefully brush a thick coat of adhesive over your base. If your pattern will smear or be distorted, put on just a dab at a time as you are putting on each tessare. If you are working on a large project, work in smaller sections.
.Apply your tessarae to the pattern, one piece at a time, by coating the back of the tessarae with a mosaic adhesive and sticking them in place on the base.
.Continue to glue and stick your tessarae, leaving small gaps in between pieces, until your base is covered.
.Let your project dry for several hours or over night.
.Once the glue is dry, mix up a batch of grout and spread it over the top of your project to fill all the gaps in between the tessarae. You can use a rubber spatula or similar tool to spread the grout and remove any extra.
.Immediately use a damp sponge or rag to wipe the excess grout off the tessarae. Get off as much grout as possible without removing any from between the tessarae.
.Let your project dry for several hours or over night.
.Once dry, use a damp sponge or rag to clean your mosaic, and it is now ready to use. If your mosaic will be used often or placed outside, make sure you use a grout sealer.
.jpg)
Previous page:Wired glass mosaicNext page: How to Make a Mosaic

