Current location: Home»CP Mosaic News » News center » Industrinal news » The Method of Construction Mosaic
Recommended Products
- glass mosaic NGL036
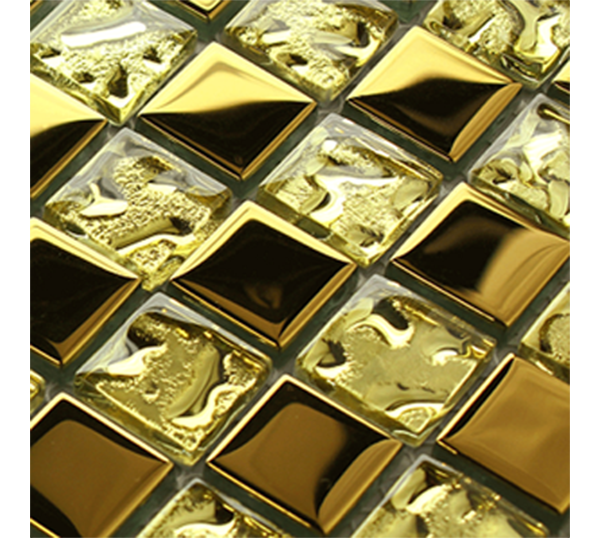
- Item:NGL036 Sheet size:300*300mm Chip size:23*23mm Thickness:4/6/8mm Material:glass MOQ:36 square meters
Top articles
- Analysis of the thickness and advantages and disadvantages of glass mosaic
- Do you know what is the mosaic tile?
- The Features of Mosaic Tile
- Electroplating mosaic with rich color and multi change patterns
- Crystal Glass Mosaic Features
- What are the characteristics of glazed metal mosaic?
- Application of glass mosaic in bathroom space
- Stone Mosaic could be decorated to which places?
- What kind of mosaic tile should be used for home ground decoration?
- Mosaic Tile Installation
Latest articles
- Make your swimming pool specially
- congratulate you with international woman day!
- Analysis of the thickness and advantages and disadvantages of glass mosaic
- glow in dark mosaic tile
- Do you know what is the mosaic tile?
- The Features of Mosaic Tile
- Provide with Fashion trend low cost cystal glass mossaic from CP Mosaic manufacturer
- New inkjet mosaic and glass tile
- Electroplating mosaic with rich color and multi change patterns
- Working instructions of mosaic
Your browsing history

The Method of Construction Mosaic
1, Check on the construction materials
Prior to construction, carefully packing box of mosaic art, to see whether enough mosaics to complete the work, in a box on top of each, we will show the model number, color number, batch number, and other details.
2, Wipe the wall base
This step is to wipe out the base of the wall, the wall must be smooth after quelling and the same color.
3, Marking
On the wall dash to write down the exact location of each mosaic stickers. The three mosaics spread out side by side on the ground, so that the mortar joint between paste and paste with a mortar joint in the same.
Measure of overall width. Then with a ruler and spirit level to the measured vertical and horizontal dimensions of the painting on the wall become a big box. Then, the large square divided into nine squares, each square put a mosaic.
4, Ready to glue tiles
According to the proportion of ready mixed tile adhesive, tile adhesive applied with a shovel ash, but the painting area can not exceed the scope of the discharge area 9 Mosaic. First, use a smooth edge shovel gray smooth tile adhesive, then gray jagged edges shovel wipe out a uniform zigzag stripes. Now, we are ready to mosaic tiling on the wall.
5, Paving and fixing
Because the mosaic are affixed to the bottom of the net, it can be directly applied to already coated with adhesive on the tile wall. The mosaic paving vertically. Please note: the gap between the stick and the stick must be affixed to each and gray seam line.
6, Reinforced
After locating each tile with gray plate pat mosaic surface, so firmly attached to the wall.
7, Ensure consistent mortar joint
After each tile is secured in place before the start of joint compound, the gap between the bricks must be determined to be a uniform width. So it is up to with a small ash shovel to adjust the mortar joint which is in the process of the mosaic paving of a process requires patience, but in the process paving work is the most important part.
8, Caulks
Prepare the necessary sealant. Use a small shovel ash, each taking a small amount of mixed sealant, evenly applied to the surface of the mosaic, small ash shovel to move diagonally, first bottom to top, then top to bottom to ensure that all the mortar joints can completely filled and no excess residue.
9, Clean
Before filling agent to penetrate, start cleaning the surface of the mosaic. Prepare two buckets, a new cleaner, a means of clean water, first installed in the cleaner bucket wet cloth, do not wring dry, then wipe with circular fashion mosaic surface; then in the second of the Clean the barrel soaked sponge, then sponge mosaic surface, wipe off any residue. Finally, wipe the surface again with a sponge until clean.
Previous page:Factory Supply of good quality crystal glass mosaicNext page: Introduction of Swimming pool tile

