


Current location: Home»CP Mosaic News » News center » Industrinal news » Construction and procedures of Ancient Wood Mosaic
Recommended Products
- glass mosaic NGL036
 Item:NGL036 Sheet size:300*300mm Chip size:23*23mm Thickness:4/6/8mm Material:glass MOQ:36 square meters
Top articles
- Analysis of the thickness and advantages and disadvantages of glass mosaic
- Do you know what is the mosaic tile?
- The Features of Mosaic Tile
- Electroplating mosaic with rich color and multi change patterns
- Crystal Glass Mosaic Features
- What are the characteristics of glazed metal mosaic?
- Application of glass mosaic in bathroom space
- Stone Mosaic could be decorated to which places?
- What kind of mosaic tile should be used for home ground decoration?
- Mosaic Tile Installation
Latest articles
- Make your swimming pool specially
- congratulate you with international woman day!
- Analysis of the thickness and advantages and disadvantages of glass mosaic
- glow in dark mosaic tile
- Do you know what is the mosaic tile?
- The Features of Mosaic Tile
- Provide with Fashion trend low cost cystal glass mossaic from CP Mosaic manufacturer
- New inkjet mosaic and glass tile
- Electroplating mosaic with rich color and multi change patterns
- Working instructions of mosaic
Your browsing history

Construction and procedures of Ancient Wood Mosaic
Construction and procedures of Ancient Wood Mosaic
Construction tools and materials preparation including sponge batch knife, mud plate batch knife, trowels, white latex ,gas nail gun.

.jpg)
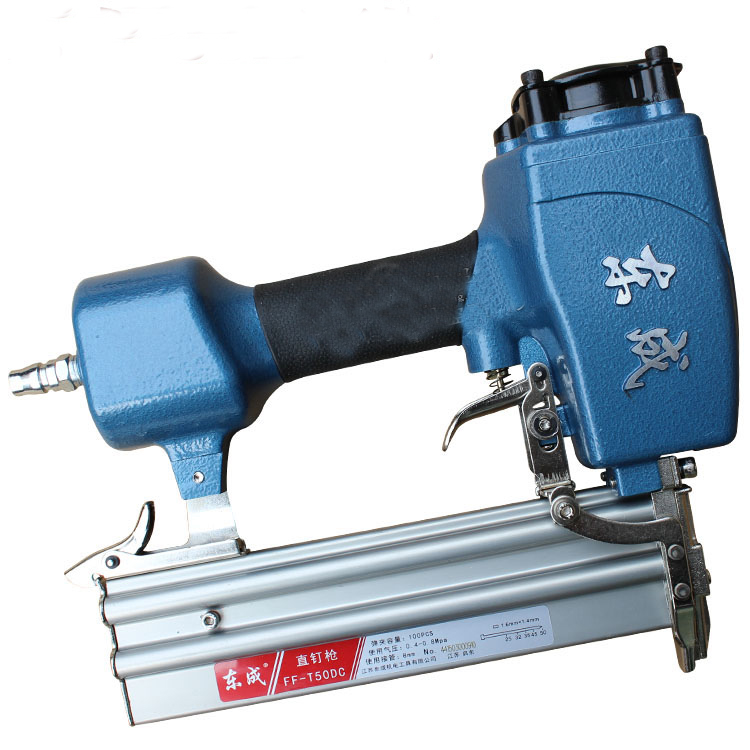
mud plate batch knife sponge batch knife gas nail gun
1) The preparation of the wall
If the decorative walls are cement lime wall,it is recommended to make wooden keelby using the decoration wooden, then lay a layer of core-board on the surface of keel, then remove surface dust and debris to ensure wood board is clean , (Paint a layer of varnish on the wood board, when the varnish is dry. If the paste area is flat, then could be directly pasted with the wood mosaic, if the decorative areas are ceramic or glass, it can be directly pasted with adhesive and the mosaic,do not need to make the core-board.
.jpg)
2) Preparation the mosaic
Before installation,put the mosaics to level place first to confirm the post effect.About the regular shape mosaics,they should be adjusted the overall balance and beauty, such as: small pieces of wood can be placed in the large pieces of wood, the thin wood next to the thick wood and so on.
.jpg)
3) Adjust the size of product
To pave and stick out good effect, could cut the products to be regularly. The backside of the mosaic is net,it could be cut by using scissors according to the mosaic lines.If the cutting shape is not satisfied enough,then could be also cut with a chainsaw.
.jpg)
4)Splice the bonding material
Daub the assemble glue(General environmental protection latex or once in wood adhesive) on the wood evenly.In order to prevent glue assembly in the product and become solidity,the glue should be controlled in agreement with the decorative area, and then cast assemble glue at the back of the mosaic to achieve batter sticking effect.
.jpg)
5)Paving the product
Generally from the bottom to up, according to the same direction of the order, and should be fully compacted. According to the situation, could be used air gun to make the nail on the mosaic to strengthen the mosaic on wall.
.jpg)
6)Completing installation
After the installation is complete, use soft cloth or semi dry and wet towel to wipe the dust on the mosaic.
.jpg)
Daily maintenance: Use soft cloth or semi dry and wet towel to sweep the dust off the mosaic.And for the long time,it could be brushed layer with clear paint or vegetable oil.
Thanks for your precious time and reading.
CP Mosaic